
Step by Step Guide for Leaking Oil Tanks.
If you remove an oil tank and it leaks, you might have a serious problem. If you want to know what to do when your tank leaks, read our guide.
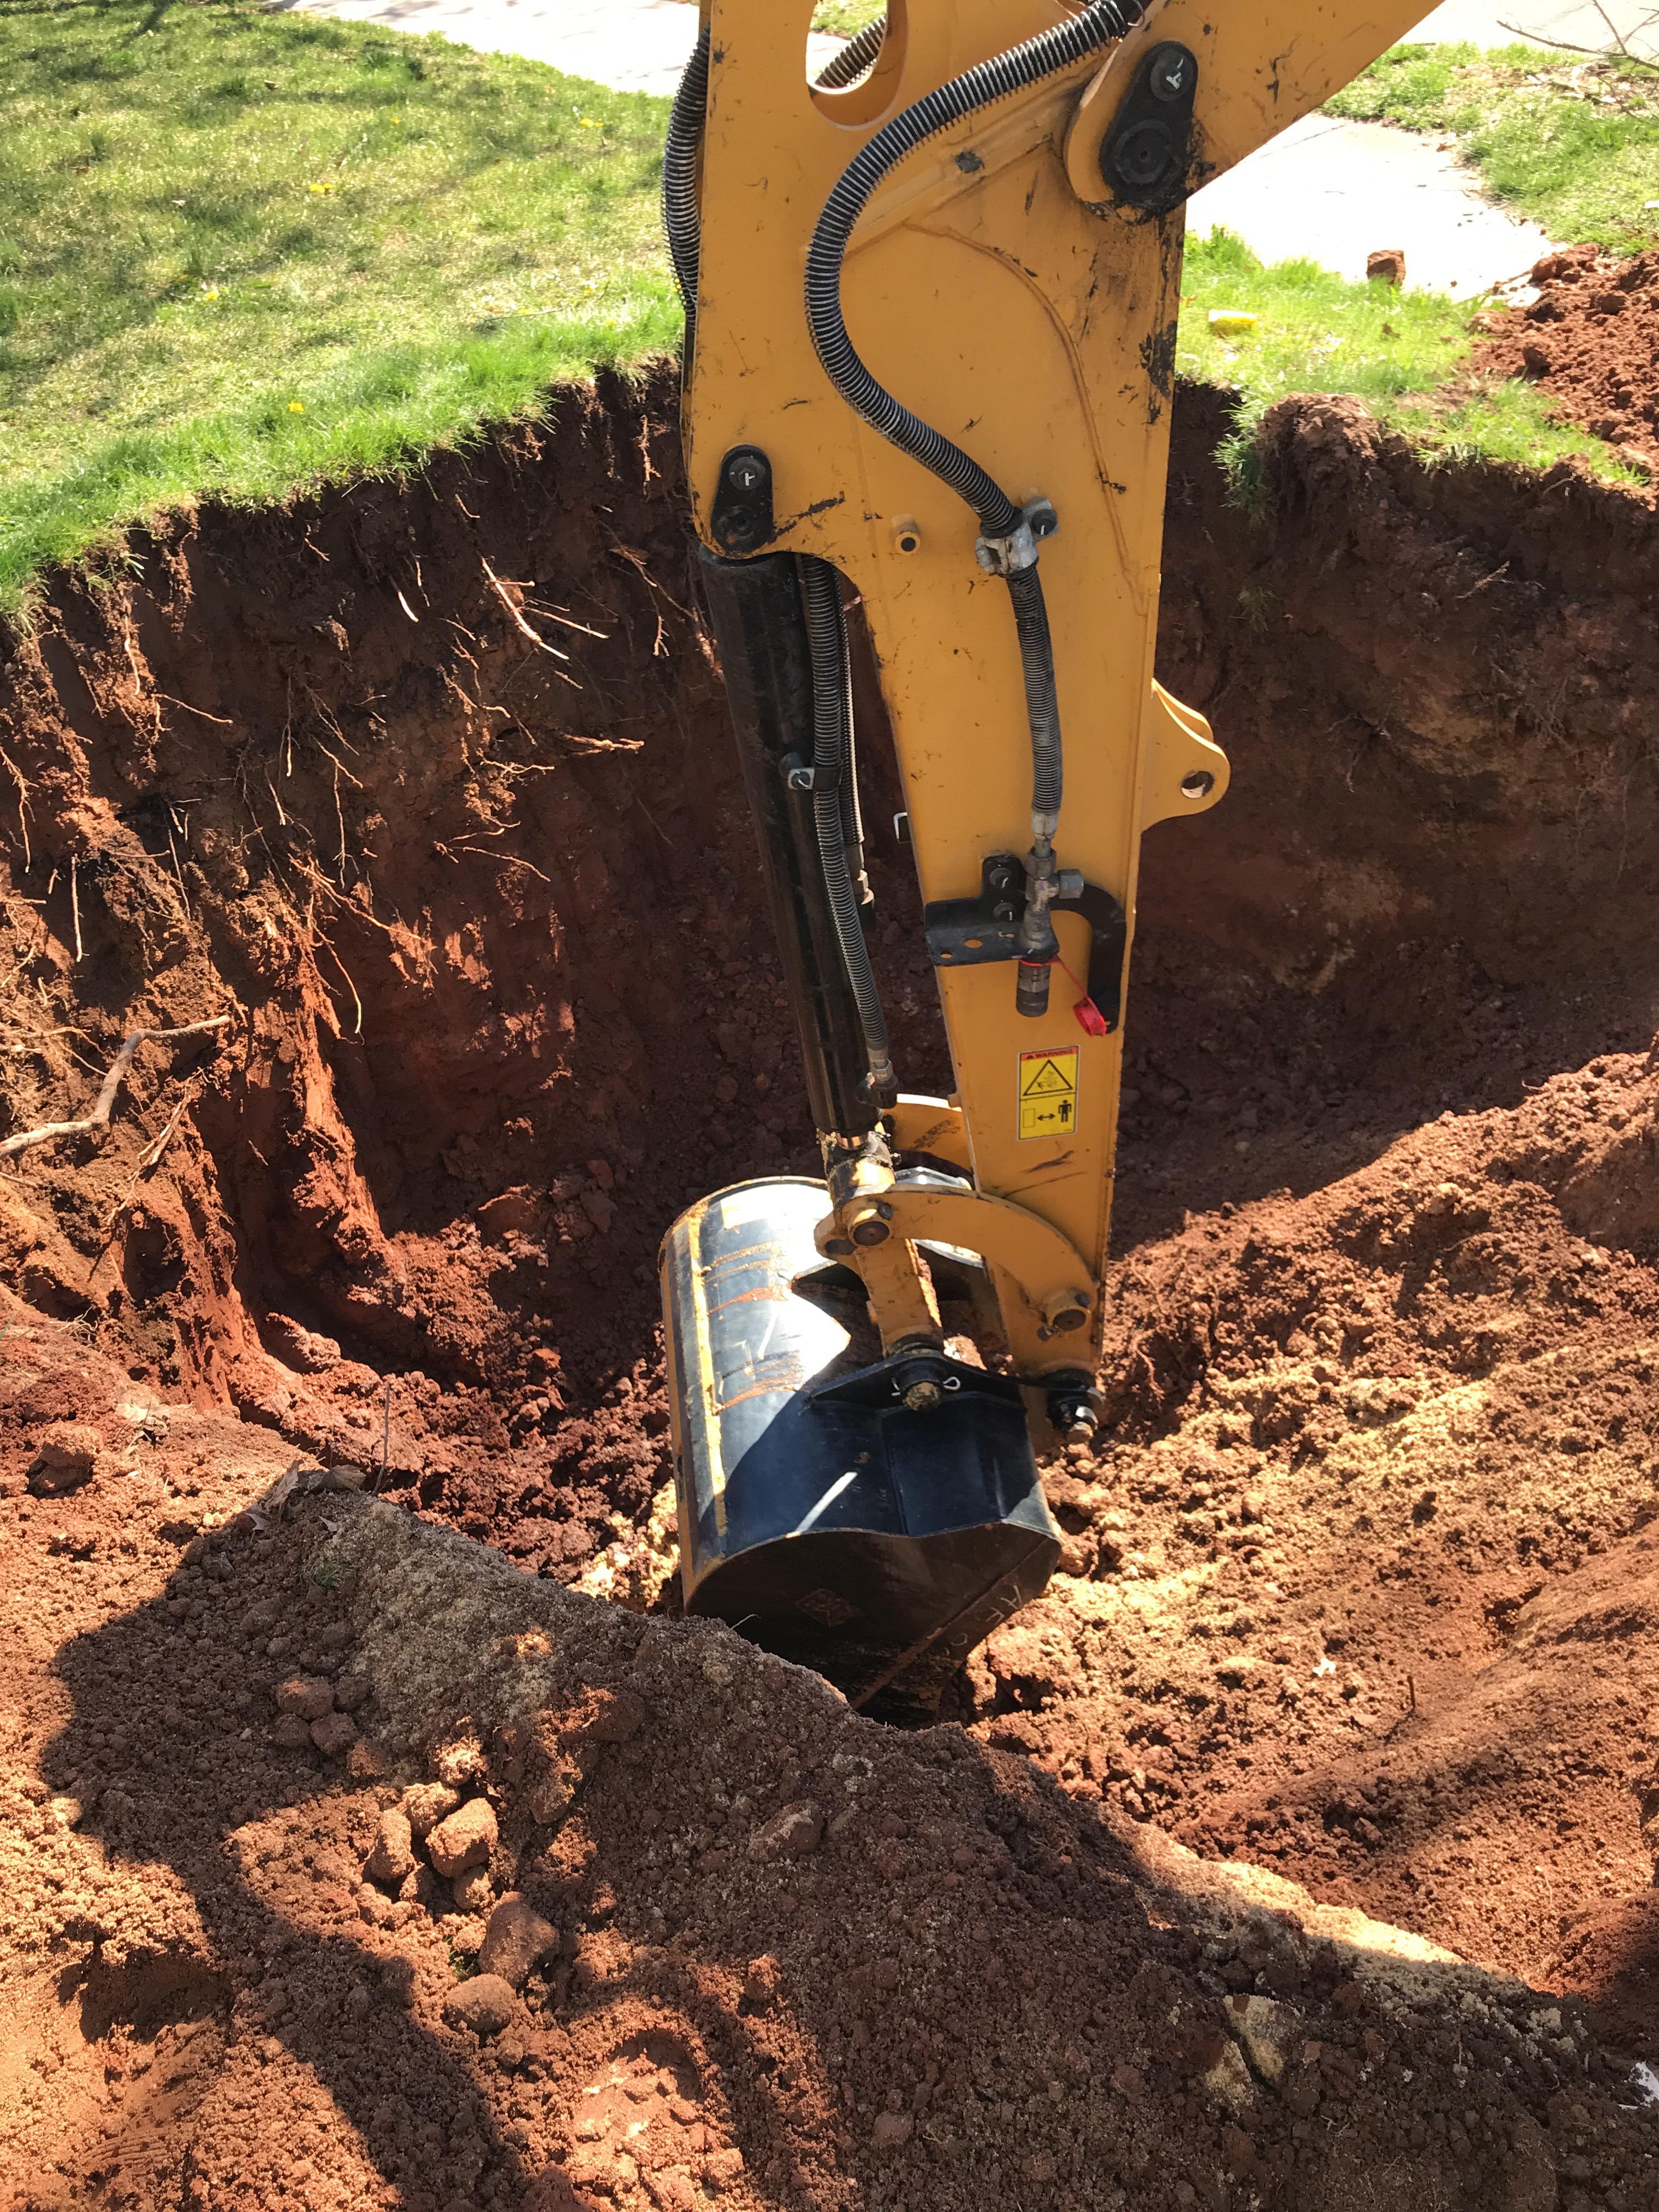
Step 1: Tank Removal
You remove an oil tank and it doesn't leak, meaning no holes, you are done. Great - but that is not why you are reading this....so moving on. You remove the tank and there are holes in the tank and the soil smells like oil, the tank company tells you it leaked and the construction official fails you for removal inspection.
Step 2: Tank Leaked
The tank leaked so now the company determines if oil levels are within standard, meaning a permissible amount of oil or are above. You have soil samples acquired from the tank excavation, typically two (2) samples for up to a 500 gallon UST and (3)three samples for a 1000 gallon tank. This testing should be in your tank contract. If your removal contract includes no testing be warned the company is looking for a tank leak so they can remediate.
Pro Tip:
Even when a tank leaks you want to test the soils, because oil has to leak enough and in significant concentrations to be above permissible limits. We remove tanks in Delaware, Pennsylvania and New Jersey and each state has a different permissible amounts of oil that can remain. If you don't test, you immediately assume you must remediate.
Step 3: Samples Above Permissible limits.
Your tank leaked, levels are above permissible limits you have to remediate. Meaning remove the contaminated soil. You are anxious to know how much it will cost, what you don't know is how far the oil has spread. Meaning how deep and how far horizontally the oil has gone. Sorry, you can't just look into the ground with x-ray vision and see how large or small, now it the time to delineate. Delineate is testing inside the tank leak area to determine the depth of contamination and do soil sampling around the perimeter of the tank excavation to determine how far soil contamination has spread. This delineation step is your most important, as it provides a road map to where and how much soil is required to be remediate. Only after a delineation is complete can you accurately remediate a property. So what involves delineating a tank leak?

Delineation:
-
Obtain a utility markout so you can safely drill, which takes 3 to 4 days
-
Physical site work: Time frame - 1 day
-
Soil boring will be installed and both soil and groundwater samples may be collected. You are testing to define the extent of the oil.
 Soil borings will be installed samples will be collected, to determine how far the oil has migrated.
- Samples obtained are couriered to the lab the following day and turnaround time for the soil and groundwater results 5-10 business days. So a week after testing you get results.
- Your project manager will assess the results and start a 3D map of the area in the ground that must be remediated. If you have a small area and the contamination is limited, you should have all the data you need. If you find that contamination extends across a property line or beneath a structure. You will have another day or borings to find the limits in the areas that are not defined. Unfortunately oil leaks do not respect property lines and oil can migrate over to a neighbor. Many neighbors don't want you to go on their property and test.
Step 4: Remediation
The outcome of step three (3) is you have a map of the area of contamination, meaning how wide, deep and long an excavation you must advance to remove the oil impacted soil. This area will translate into tons of soil to be removed.
What is the time frame of remediation?
The excavation of contaminated soil is a project into itself. You need to get the contaminated soils approved into a licensed soil recycling facility. This can include laboratory analysis of the soils and paperwork being submitted, this can take up to 3 weeks.
Once the soil is approved at a facility you can mobilize equipment and labor to remediate the soils.

Example of an Excavation Size
Step 5: Post Remedial Testing
While you initially tested to determine if oil levels were above or below standard and you tested to determine the extent of the contamination you now do your final testing, which is confirmatory testing. This testing is completed after you remediate. You test the sidewalls and bottom of the excavation to confirm the contamination is gone. Time frame: 5-10 business days. A week after remediation you get results.
If you have groundwater contamination or you had it before remediation there is another series of testing you must do and this testing starts 2 to 4 weeks after remediation. Groundwater testing is separate than soil testing and is only necessary on sites where groundwater is in contact with oil impacted soils. Time frame to get test results back: 5-10 business days. A week after testing you get results.
- Groundwater sampling (if necessary)
- A temporary groundwater well is installed
- Time frame one (1) day
- Groundwater is purged from the well and sampled on the same day
- Samples are couriered to the lab the following day and turnaround time for the soil and groundwater results 5-10 day
- Temporary well will be pulled out the same day and area will be restored
Step 6: Reporting & Remediation Success
About four (4) weeks after remediation and all testing data is returned from the laboratory, you are now prepared to draft a report to document the effectiveness of the remediation. in New Jersey this report would go to the NJDEP with a $400.00 review and you would get a letter of approval (No Further Action letter) within 30 days from date of submission.
